2 Set up VRM
VRM Model
In the previous section, we have introduced how to convert a Humanoid 3D model to VRM
First drag and drop a VRM file (~.vrm) into the Assets folder. The prefab file associated with the VRM file can be automatically generated.
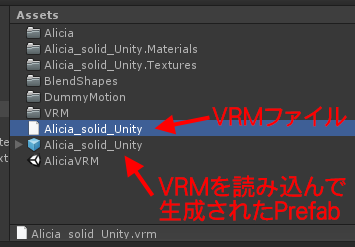

- normalized
- Click the prefab file (normalized model) and check the inspector window. As seen in the image below, components such as
VRMMeta,Animator,VRMBlendShapeProxy,VRMFirstPerson,VRMLookAtHead,VRMLookAtBoneApplyerare attached to the model:
Open VRM prefab in the scene
File - New Scene
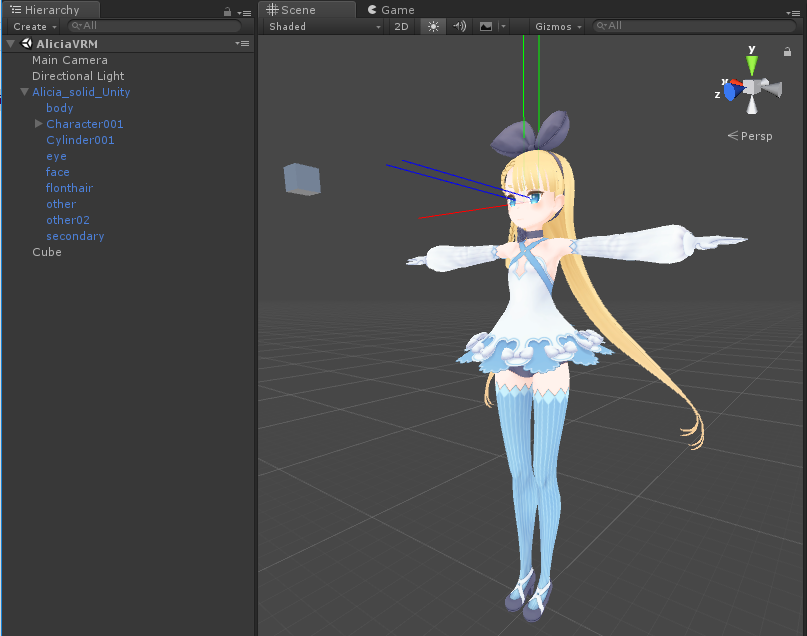
Deploy the prefab into a scene.
Configure VRM-specific settings
Create a new scene by File - New Scene or use an existing one, then drag the prefab file to the Hierarchy window:
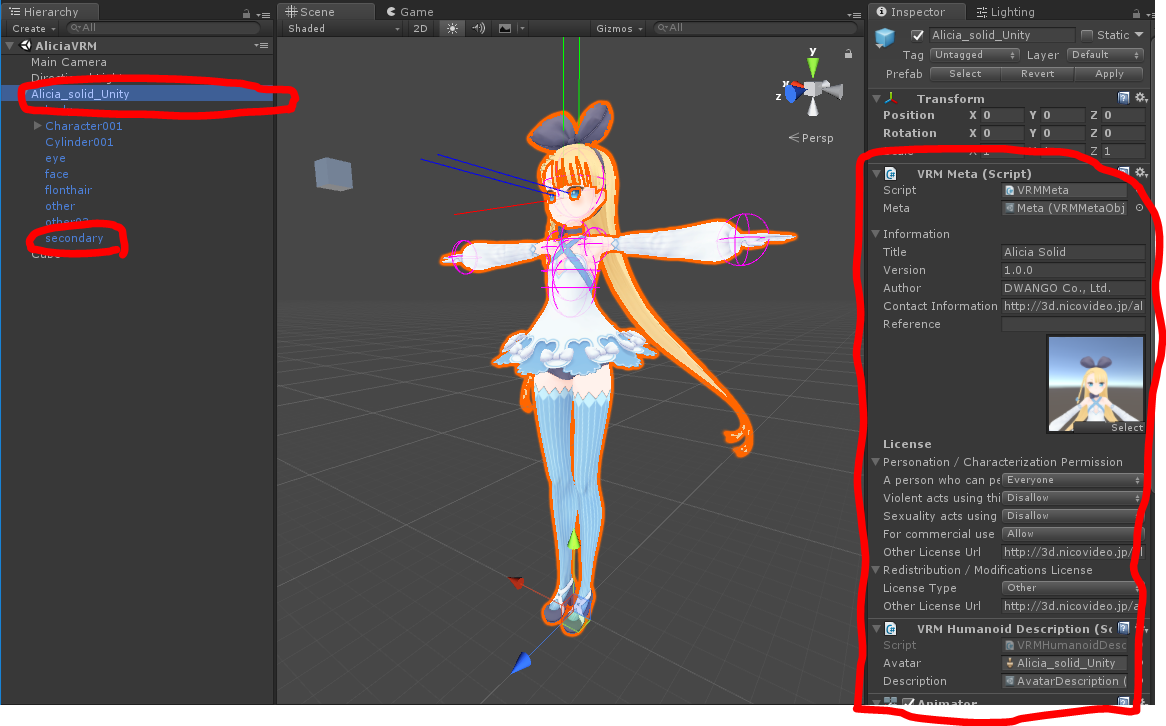
By clicking the prefab's GameObject in Hierarchy, the VRM model's information will be displayed in the Inspector window. Note that **spring bone settings can be found in the GameObject named secondary **. Also, in VRM Meta, make sure title, author, license (the most important one) are set.
To make a VRM model fully functional, please set up the following components:
- Expression and lip-sync (BlendShape)
- First-person settings (Exclude model's head in first-person view for VR applications)
- Eye gaze movements controlled by bone or BlendShape
- Spring bone (SpringBone/SpringBoneCollider)
Export VRM model again
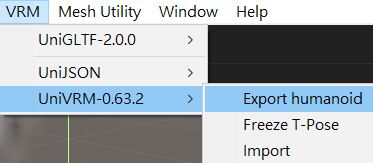
After the all settings are completed, select the the model (topmost parent GameObject) in Hierarchy and again export the model from VRM0 -> Export UniVRM-0.XX.
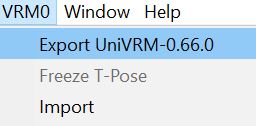
Previous versions: VRM -> UniVRM-0.XX -> Export humanoid.
Pose Freeze is for model normalization during export. The exporter will automatically check whether the export target needs to be normalized.
- For instance,
in Hierarchy if a mesh's rotation or scale is not Default (first VRM export or adding accessories to the VRM model), the model normalization"needs to be performed.
- Other settings such as Bake BlendShape State is also available.
Done!
Your VRM file is good to go. Try to import the VRM file into applications that support VRM!