.unitypackage file
https://github.com/vrm-c/UniVRM/releases から unitypackage をダウンロードしてください。
UniGLTF_VRMShaders 、 UniVRM という順番で2つのパッケージをインストールしてください。
- The recommended version is
Unity-2019.4. Other supported Unity versions can be found here.
| UniGLTF_VRMShaders | UniVRM | VRM | |
|---|---|---|---|
| for GLTF | install | ||
| for VRM | install | install | |
| for VRM1 | install | install |
Sampleパッケージは廃止になり中に含まれます。UPMのSample機能でインストールできます。
Get unity package in
https://github.com/vrm-c/UniVRM/releases
UniVRM-0.XX.X_XXXX.unitypackage
Before Installation
-
Create a new Unity project
-
"Go to
ProjectSettings-Player-Other Settings-Rendering-ColorSpaceand setColorSpacetoLinear(recommended setting)

Unity-2018.3, Unity-2018.4, Unity-2019.1:- "Go to
ProjectSettings-Player-Other Settings-Scripting Runtime Versionand setScripting Runtime Versionto.Net4.X equivalent
"If old UniVRM version exists, please delete Assets/VRM, Assets/UniGLTF (if exists), Assets/VRMShaders (if exists) and Assets/MeshUtility (if exists) before installation. Refer to Uninstall UniVRM for more information"
Import unitypackage
Import unitypackage
Go to Assets - Import Package - Custom Package and select UniVRM-0.XX.X_XXXX.unitypackage.
Three folders: Assets/VRM, Assets/UniGLTF and Assets/VRMShaders will be imported into the Unity project.
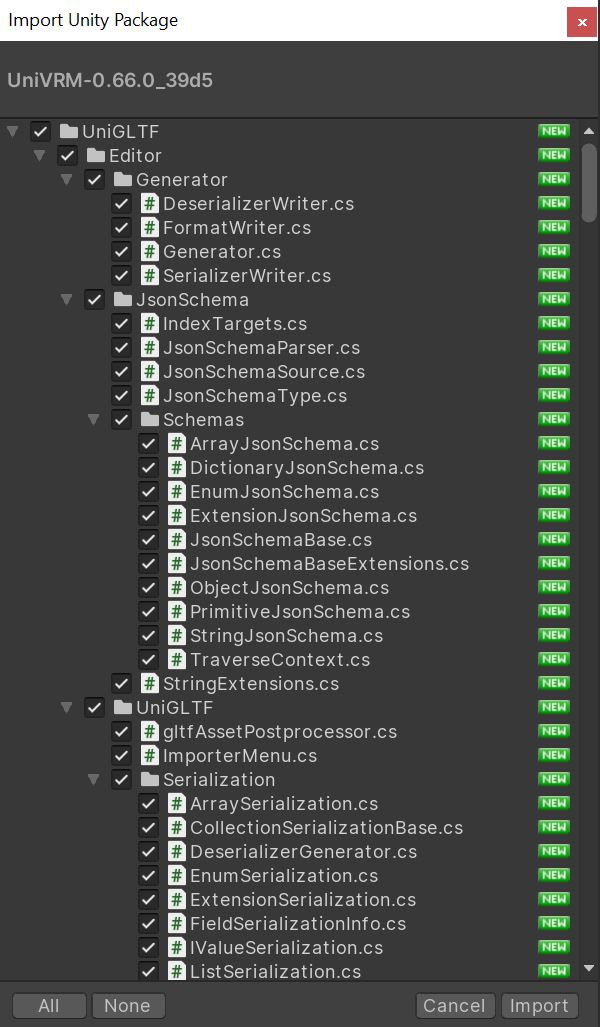
Import Unity Package
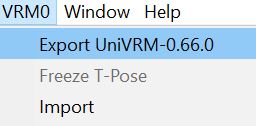
Check if UniVRM has been imported successfully
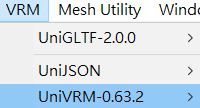
If UniVRM import successes, VRM menu will be displayed in the menu bar:
Previous versions:
If menu does not show up:
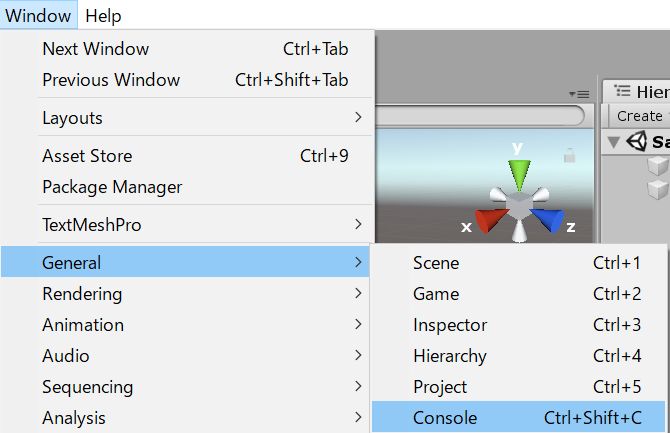
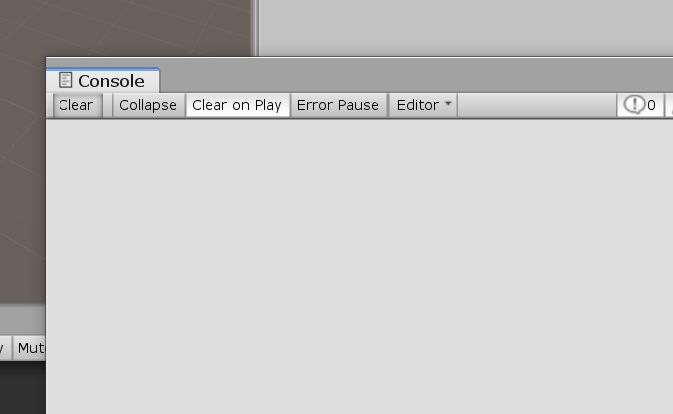
- Open Console: click
clearbutton on the upper-left corner of the Console window to see if any error (message in red) occurs