0 Create a Unity project and install UniVRM
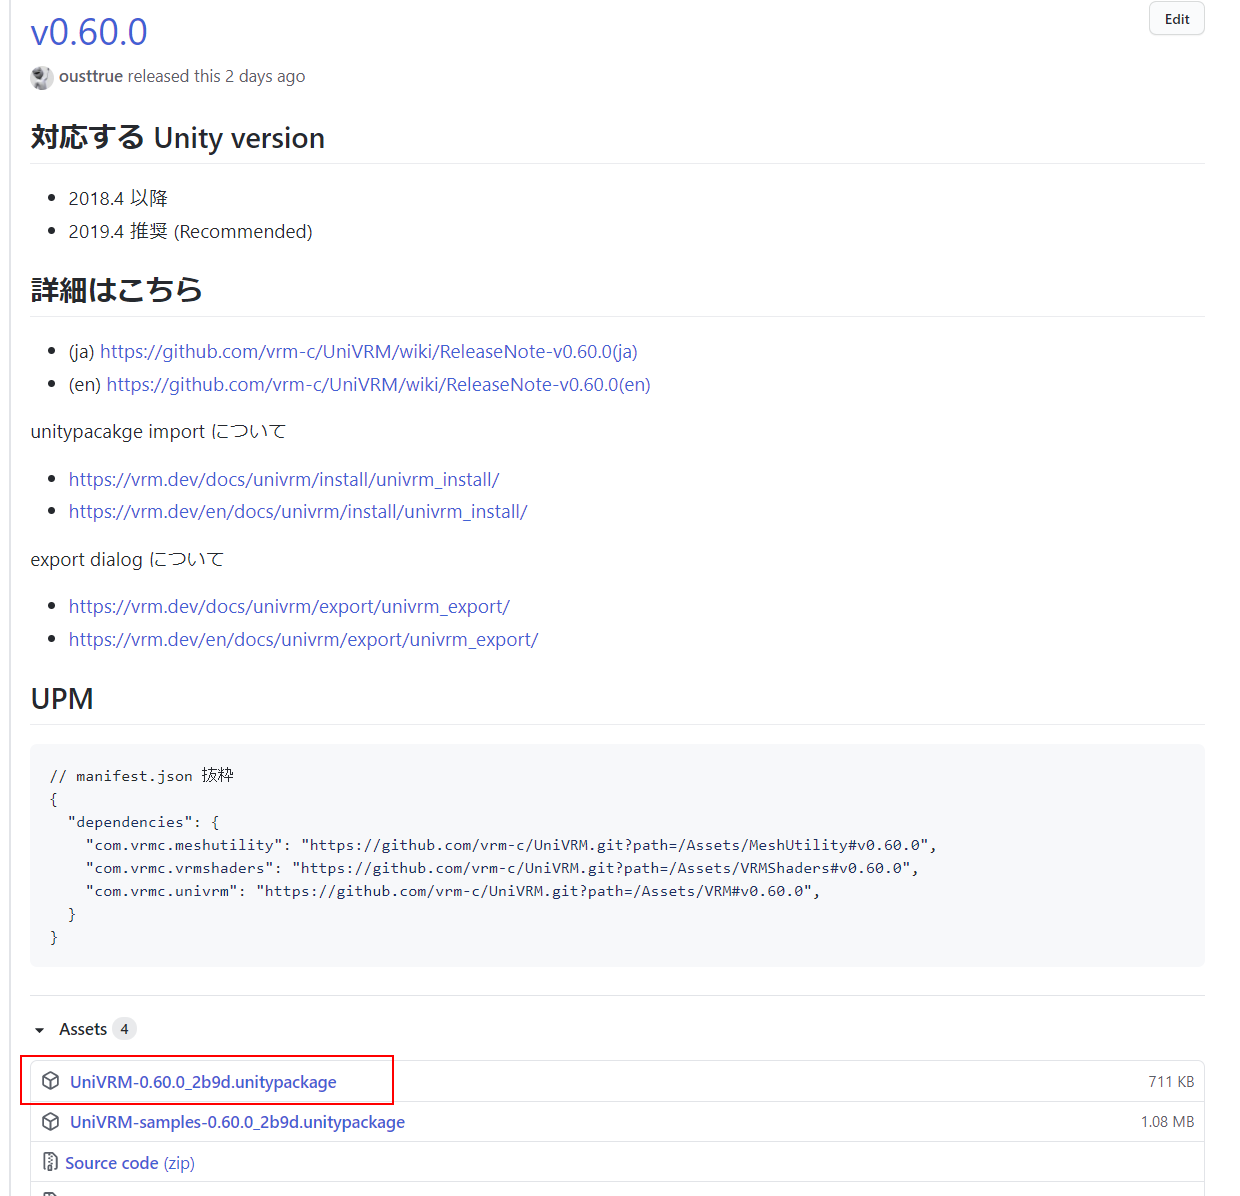
Download UniVRM
https://github.com/vrm-c/UniVRM/releases
Download the latest version of UniVRM (UniVRM-0.XX.0_YYYY.unitypackage) in the release page:
XX is UniVRM version. YYYY is version ID
Install Unity
https://create.unity3d.com/jp-howto-install-win
Make sure the Unity Version you are going to download is compatible with UniVRM.
Create an empty project in Unity
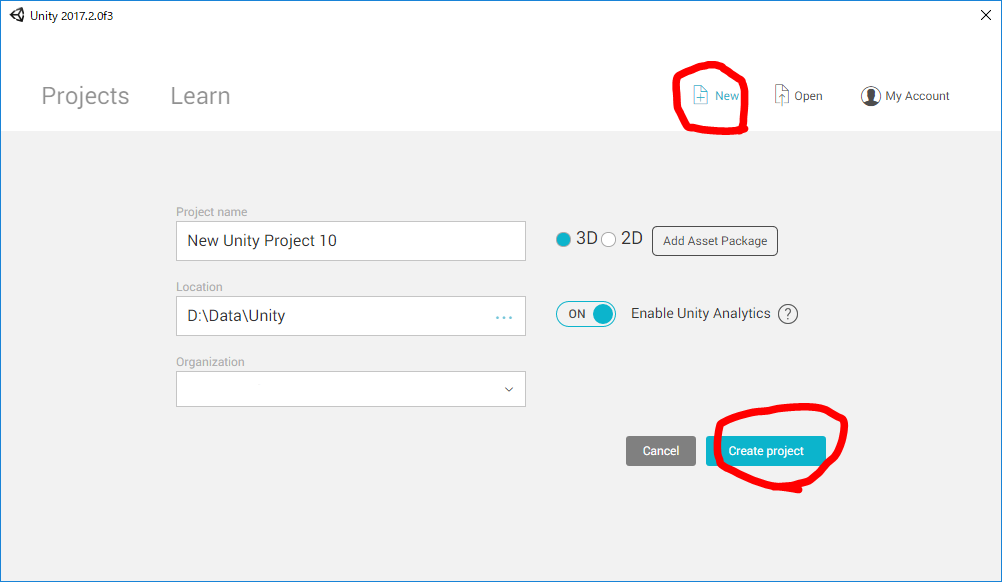
or

For Unity Hub, click Projects -> New -> 3D template -> CREATE:
Import UniVRM package into the created project
Import the downloaded UniVRM-0.XX.0_YYYY.unitypackage into the current project (Assets -> Import Package -> Custom Package). The imported files will be in the folders ../Assets/VRM, ../Assets/UniGLTF and ../Assets/VRMShaders
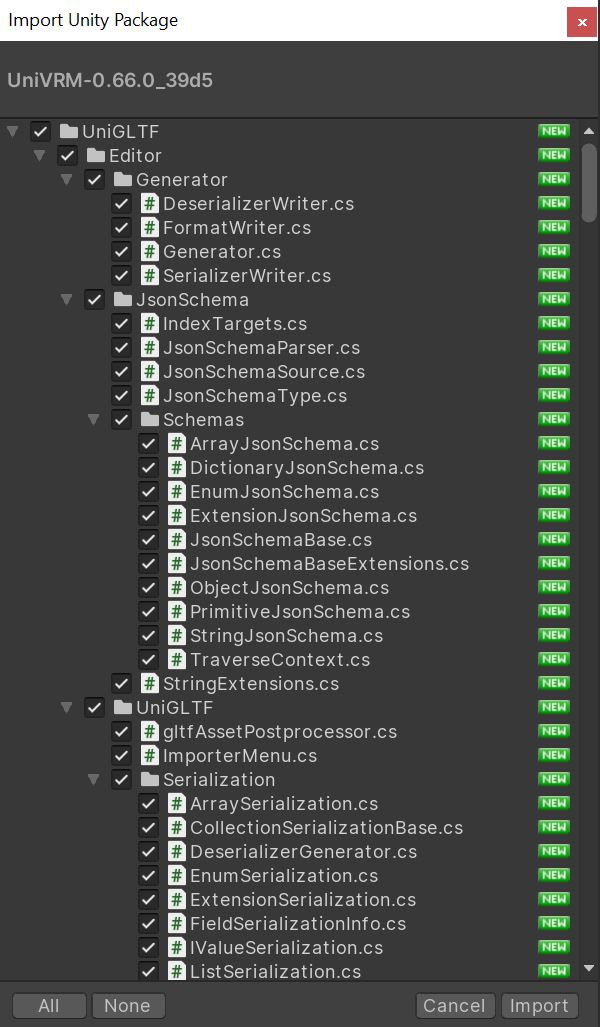
click import button.
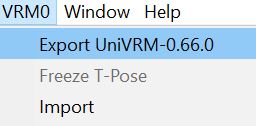
Check if UniVRM has been imported successfully
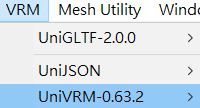
If UniVRM import successes, VRM menu will be displayed in the menu bar:
"Go to ProjectSettings - Player - Other Settings - Scripting " "Runtime Version and check whether Scripting Runtime Version is set to "
".Net4.X equivalent"
Console
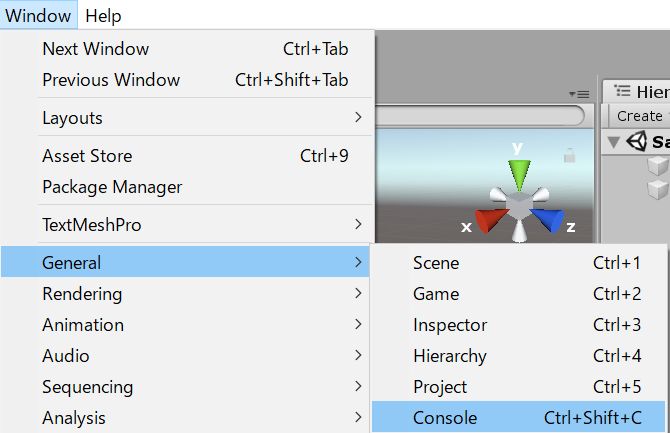
The errors occurred in a Unity project can be shown in the Console window:
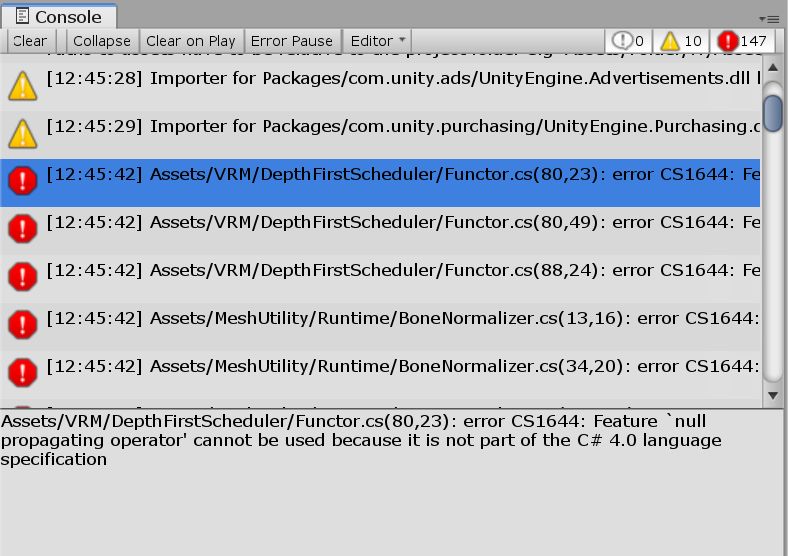
Click clear button on the upper-left corner of the Console window and see if any error (message in red) is left in the console. In most of the cases, errors originate from the UniVRM installation failure.
Manual
➡ Install