1 Create VRM from Humanoid 3D
Prepare a 3D model that can be handled as Humanoid in Unity
First prepare
- a 3D model made by your own or allowed to be modified for use as VR avatar
As there are
- license settings embedded in VRM file, users need to set them up according to Author's (yourself or others) permission usage.
Then, ensure the required bones are included so that the model can be recognized as Humanoid.
For more information on available base models, see BaseModel.
Import a FBX model into Unity
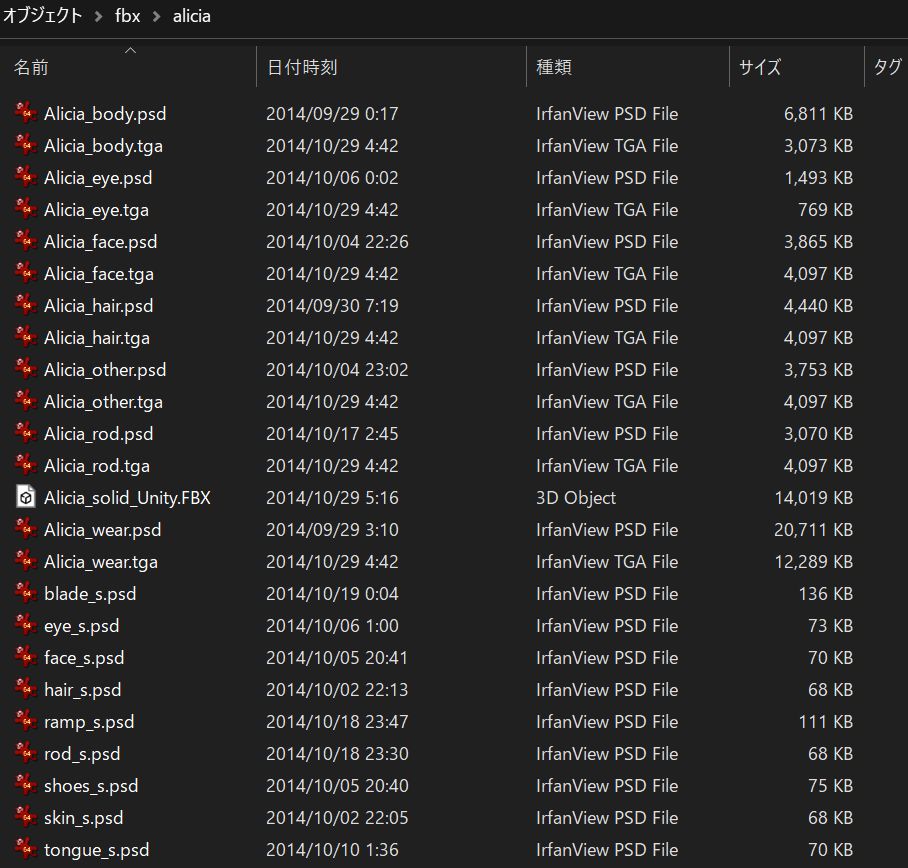
Drag and drop the FBX folder into the Assets folder
unity

In the Project window, click blue icon (Alicia_Solid_Unity), which is fbx's asset (prefab):
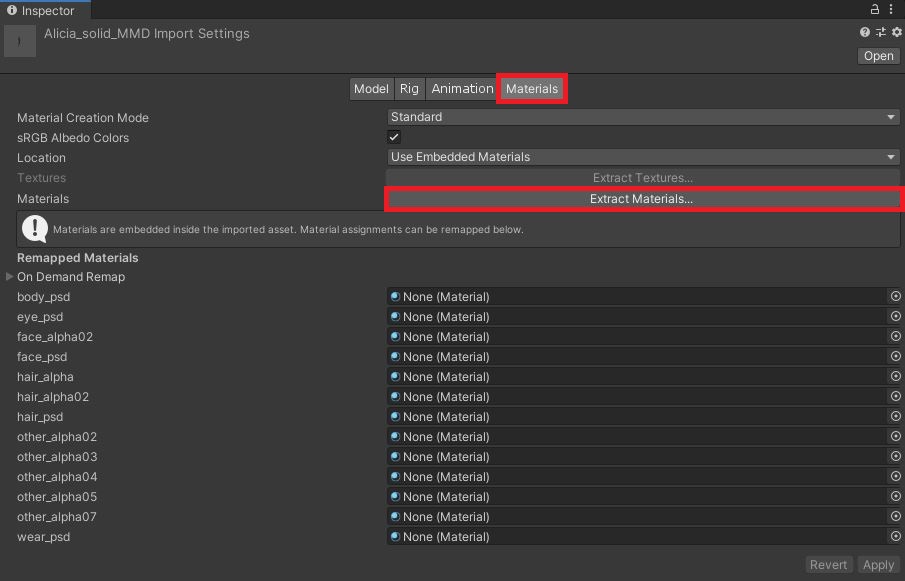
FBX's Material Setup
As shown in the image above, by default FBX's materials are set as Standard shader with default parameters. For the demonstration of VRM conversion under the minimum material setup, we set the material's Shader to MToon and Color to white.
Create a folder (e.g. name the folder as Materials) in FBX folder (/Assets/FBX/Materials). In FBX's Inspector window, click Materials -> Extract Materials and save extracted materials into Materials folder. If the reference for each material has been assigned in On Demand Remap section, skip this step. Another way to set up materials is by setting Location as Use External Materials (Legacy). Here we only focus on the former one.
Next, select all materials and set Shader to VRM -> MToon:
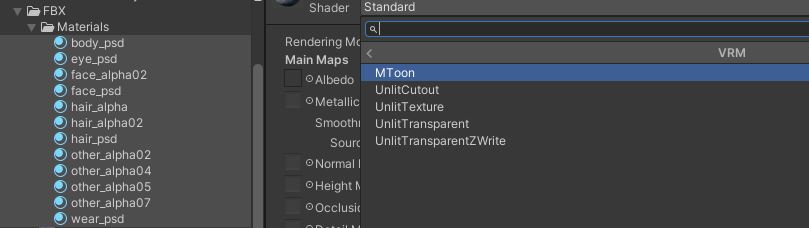
Change Shade Color to white:
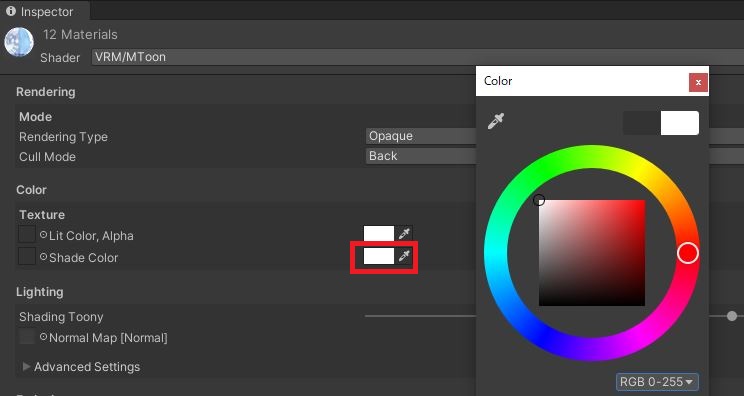

For more details about how to set up MToon shader, refer to MToon settings.
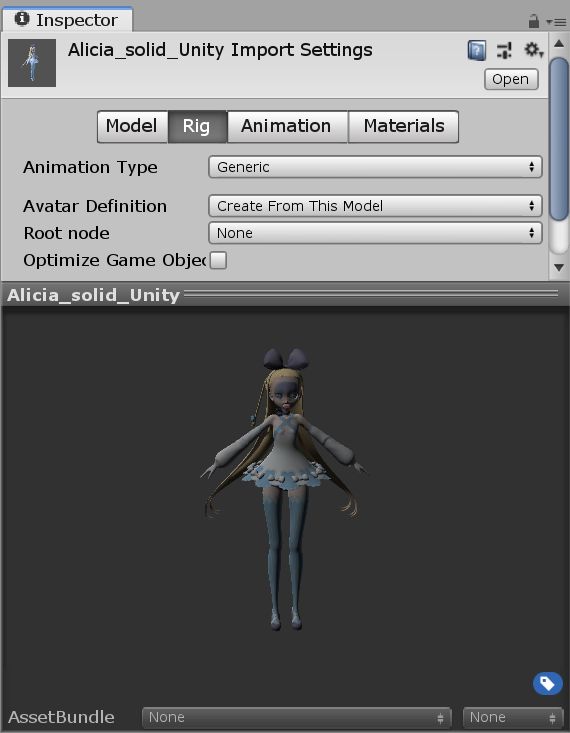
Humanoid Setup
Originally the Animation Type for FBX is generic. Now we need to set it to Humanoid.
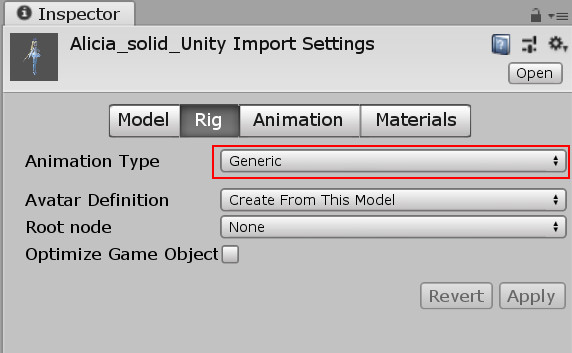
Change to Humanoid

and click Apply button:
Next,
click Configure button to configure your model.
A message box will pop up asking whether you want to save the current scene. Click Save to save it.
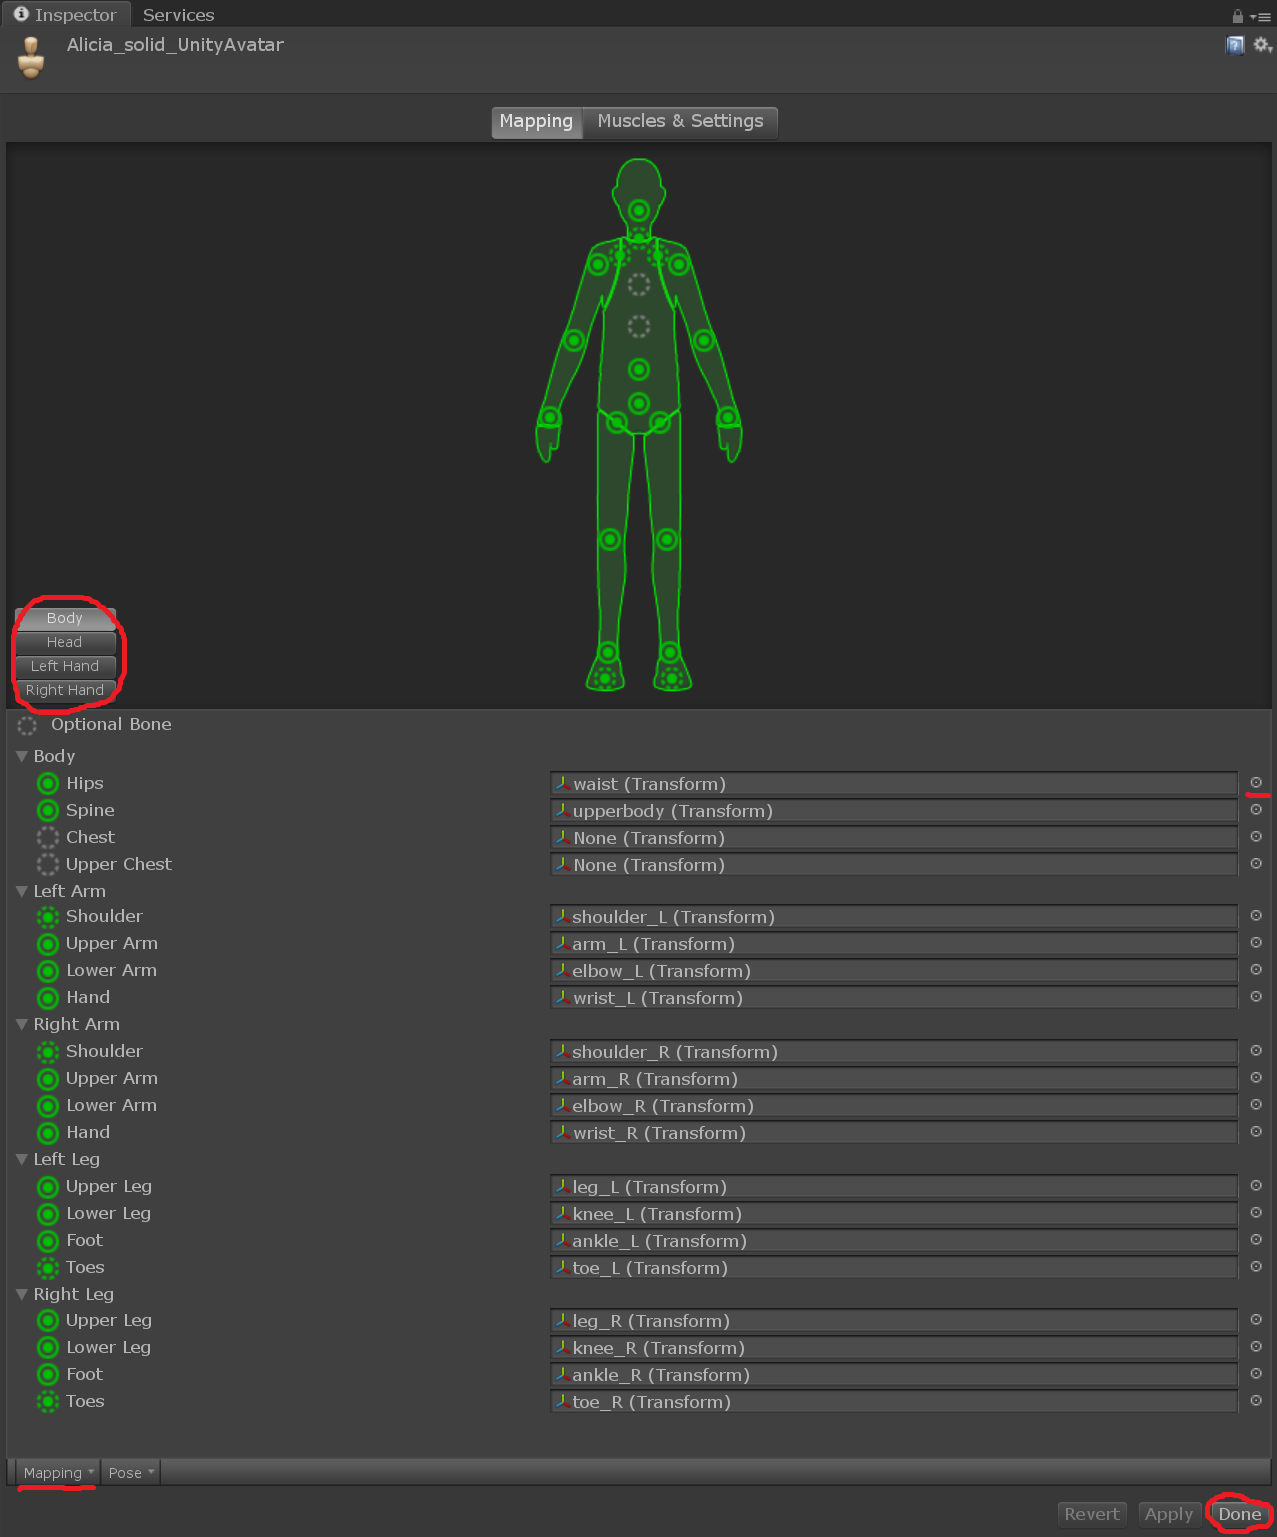
Check the bone assignments.
- Jaw bone is assigned to bangs
- The eye bone is assigned to the eye highlight.
Please be careful of the above.
Put Prefab into the Scene
Drag the prefab from the Project window to the Hierarchy window.
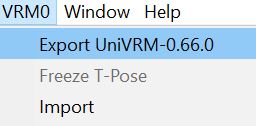
click VRM0 - Export UniVRM-0.XX. Show dialog.
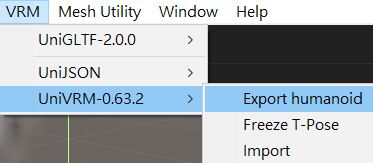
Previous versions: VRM -> UniVRM-0.XX -> Export humanoid.
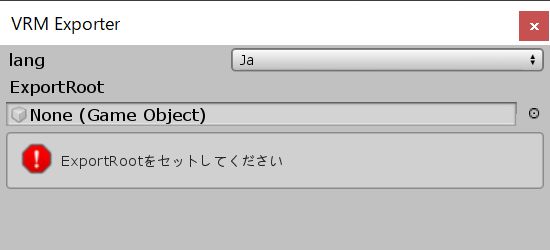
Drop the GameObject with the prefab expanded into the scene on Export Root.
Various error checks are performed in the export dialog.
- The error messages (red) need to be resolved
- The warning messages (yellow) can be ignored if you want to export VRM straight away
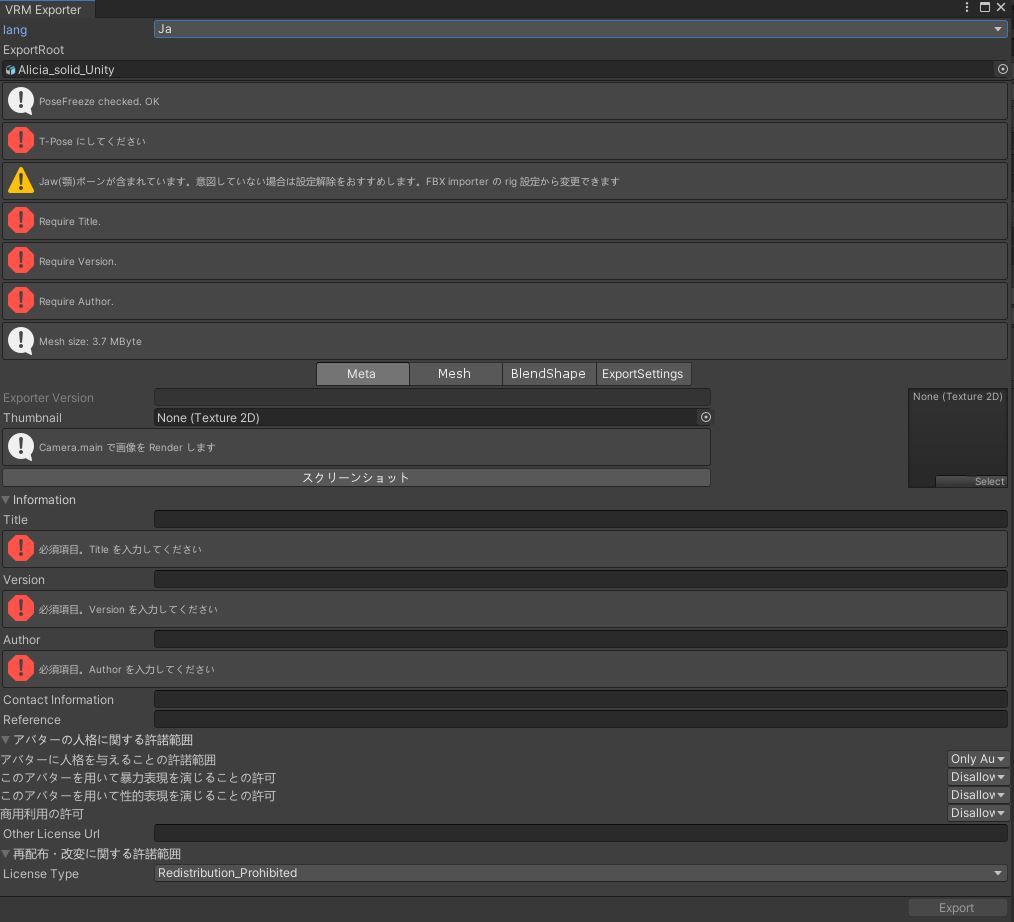
Please enter your license information. Once the red message disappears, you can press Export.
For the next task, I created a folder Assets/models/vrm and exported it there.
You can choose to export to either within or outside of Unity's Assets. If you select within Assets, Import will be activated immediately after Export (Import is heavier). When selecting within Assets, it will be easier to understand if you create a new dedicated folder.
Export Options
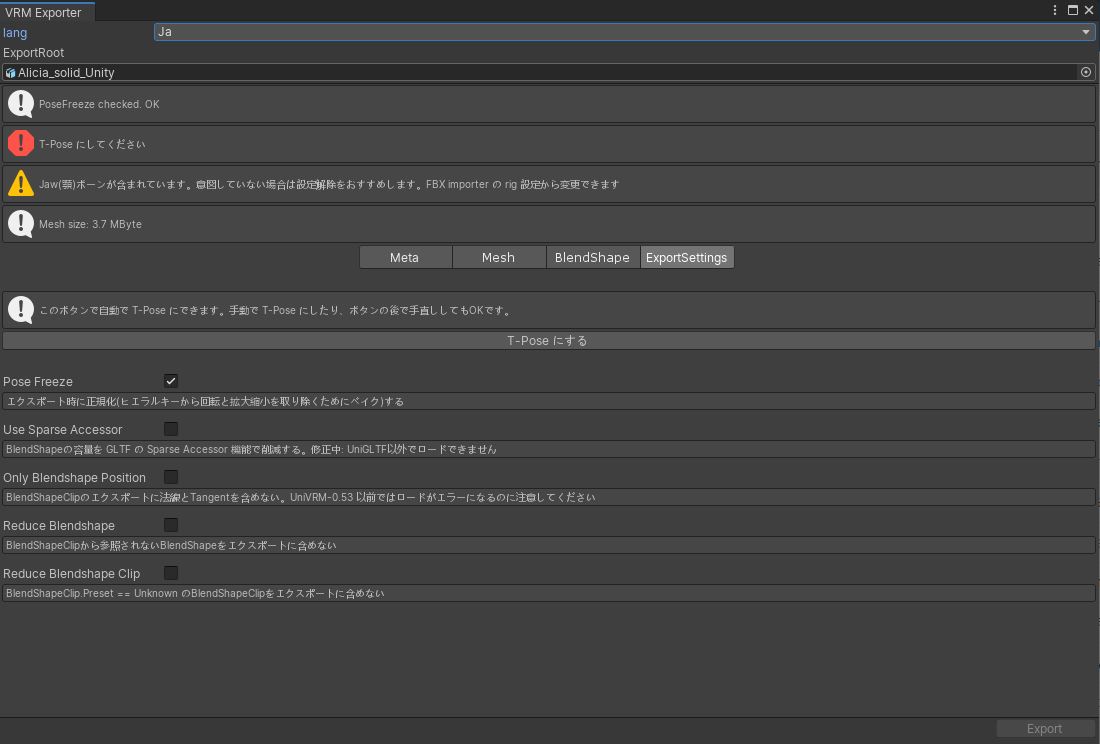
If the model is not in T-Pose, click Make T-Pose to make one.
Pose Freeze is for model normalization during export. The exporter will automatically check whether the export target needs to be normalized